
Sierra Greenhouse Insights
Greenhouse Microgreens Setup for Fast, Clean Harvests
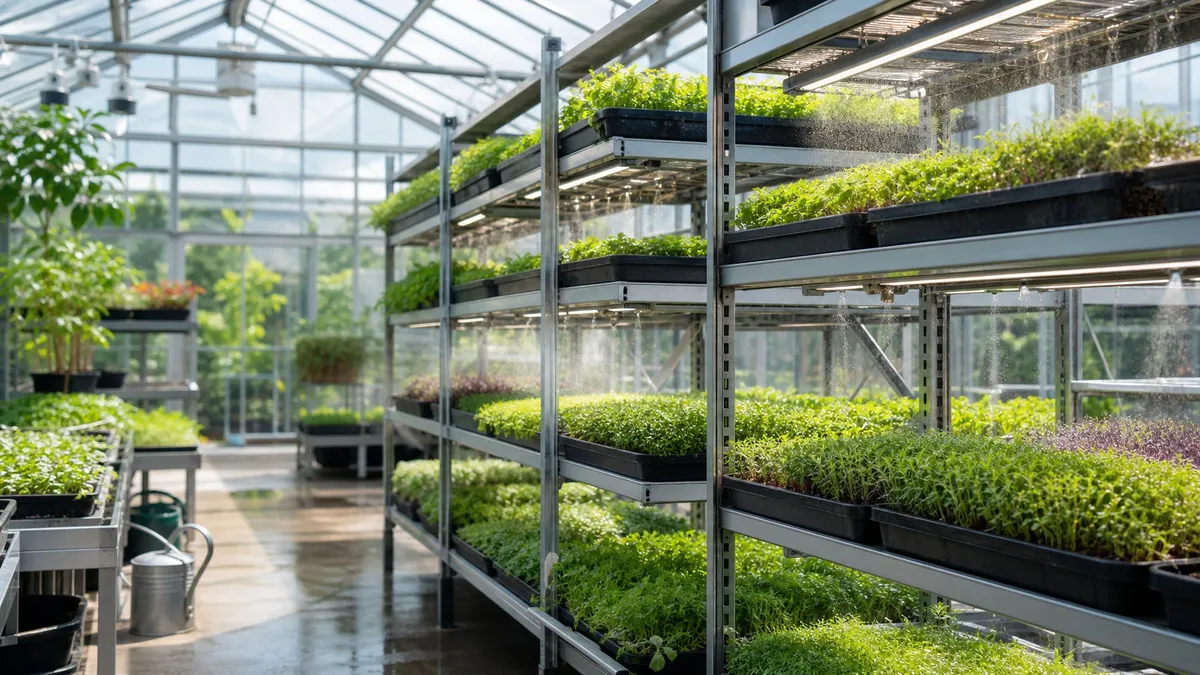
Growing microgreens in a greenhouse gives you what most indoor setups just can’t: real sunlight, passive climate control, and space to scale up without crowding your kitchen. Microgreens are young seedlings—veggies and herbs harvested at the first true leaf stage, usually 7 to 21 days after sowing.
They only reach about 1 to 3 inches tall, but they’re nutritional powerhouses. Some studies say they can pack up to 40 times more nutrients than mature plants.
A smart greenhouse microgreens setup combines natural light, steady airflow, and good moisture control for quick, clean harvests all year. Whether you’re growing for your family or looking at a microgreens business, a greenhouse hits the sweet spot between a windowsill tray and a full-blown vertical farm.
Why Choose a Greenhouse for Microgreens?
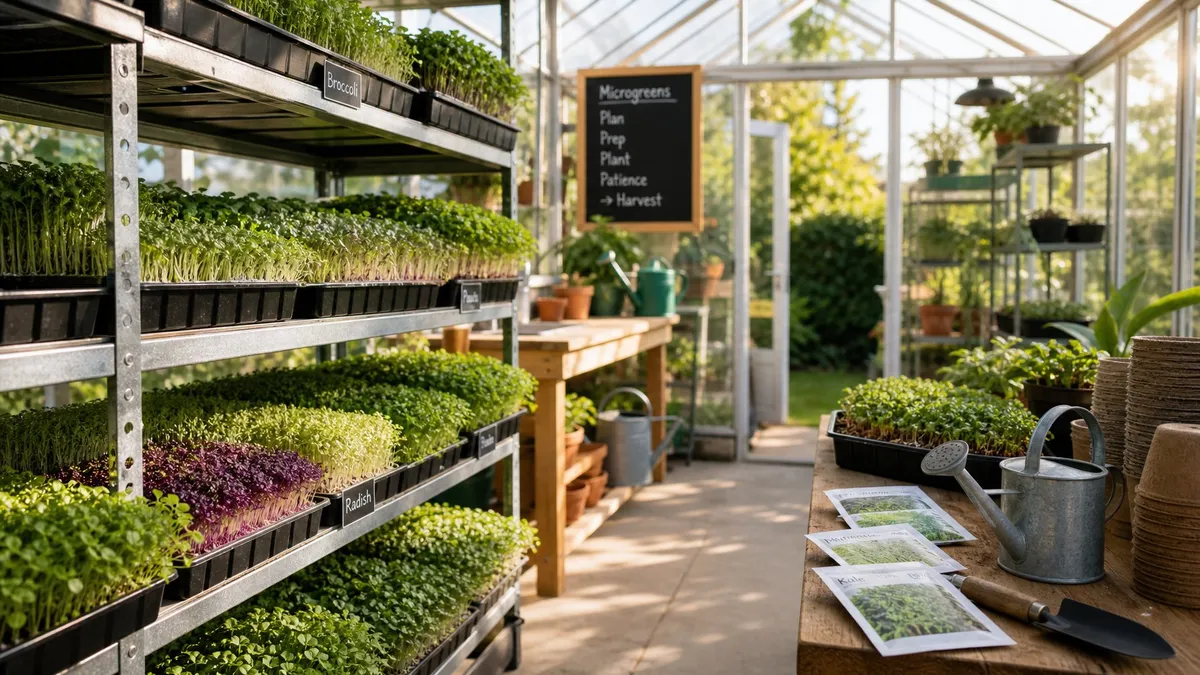
Most people start microgreens under LED shop lights in a basement or garage. While that works, moving to a greenhouse changes the game in a few key ways.
Sunlight vs. Artificial Light
Microgreens don't need much light to sprout, but once those first leaves appear, they crave it. Sunlight provides the full spectrum that LEDs try to mimic.
In a greenhouse, you get this for free. This leads to sturdier stems, deeper colors (especially in purple varieties like radish or basil), and a better flavor profile. Plus, your electric bill will thank you.
Managing Temperature and Humidity Naturally
Microgreens love the "Goldilocks" zone: 65°F to 75°F. Greenhouses are designed to hold this range.
The passive solar gain keeps things warm in the morning, while ventilation systems prevent the midday spike. This natural cycle is often more stable than the dry, forced-air heat found in most homes, which can dry out delicate microgreen roots in hours.
Scaling Up: Space and Efficiency
If you want to grow more than two or three trays, your kitchen counter will quickly feel small. A greenhouse allows you to use vertical racks or long benches.
You can set up a dedicated "wash and pack" station right next to the growing area, keeping the mess out of your living space.
Essential Equipment for Your Setup
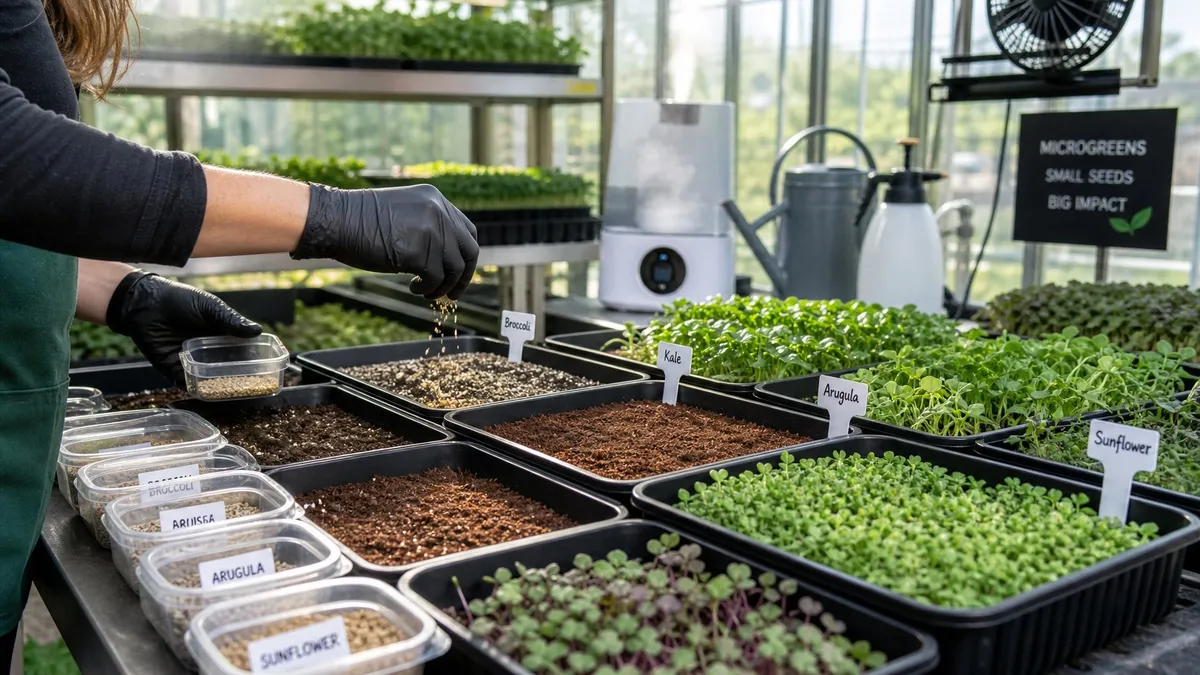
You don't need a lot of gear to start, but the quality of what you use matters.
Picking the Right Trays
The industry standard is the "1020 tray" (10 inches by 20 inches).
- Trays with holes: Use these for the actual growing.
- Trays without holes: Use these as "bottom trays" for sub-irrigation.
Look for "extra strength" or "heavy duty" trays. The cheap ones from big-box stores will crack after one or two harvests.
Vertical Racks and Bench Layouts
Maximize your greenhouse footprint with vertical shelving. Wire racks (like the chrome ones used in restaurants) are perfect because they allow maximum light and airflow to reach every tray.
Space your shelves at least 10–12 inches apart to allow for easy watering and harvesting.
Irrigation and Drainage Systems
Watering from above is a recipe for disaster (and mold). Most pros use "bottom watering." You pour water into the bottom tray, and the growing medium wicks it up to the roots.
In a larger greenhouse, you can automate this with a flood-and-drain table or a simple drip line that fills the bottom trays on a timer.
Growing Media and Seed Selection
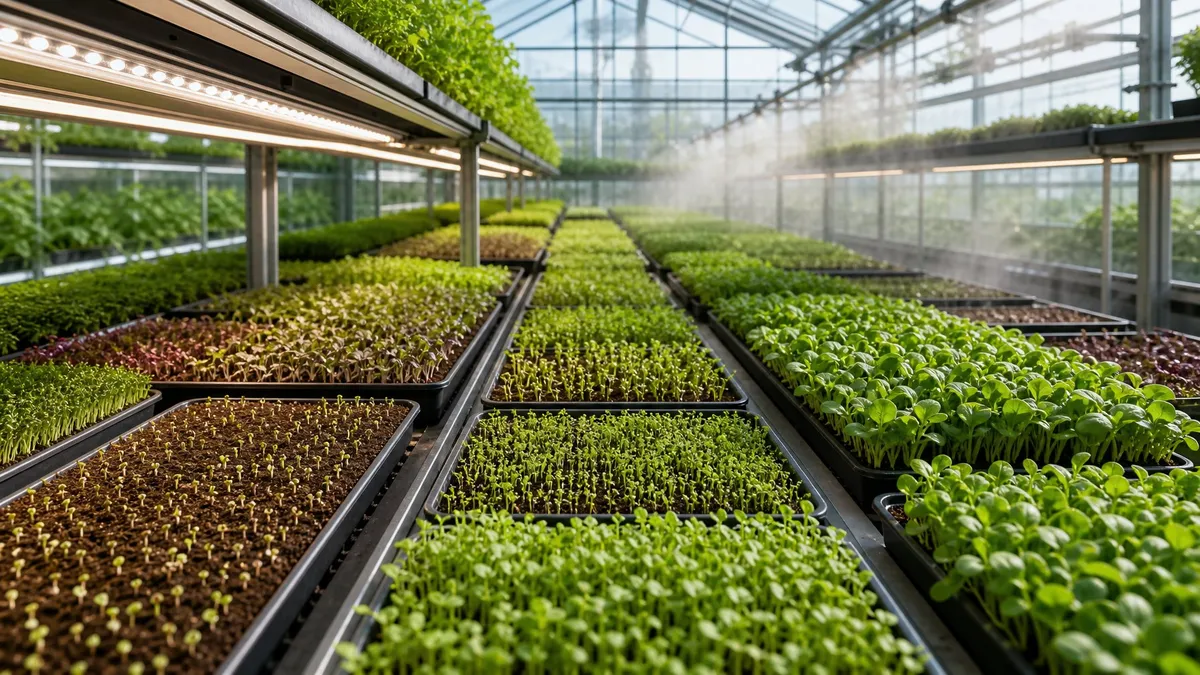
What you grow your microgreens in is just as important as what you grow.
Soil vs. Soil-less Media
- Potting Soil: Provides some nutrients and holds moisture well. Best for longer-cycle crops like cilantro or sunflowers.
- Coconut Coir: Sustainable, clean, and has a neutral pH. Excellent for most microgreens.
- Hemp or Jute Mats: Completely soil-less and mess-free. Great for "clean" crops like arugula or broccoli, but they dry out faster than soil.
Top Microgreen Varieties for Greenhouse Success
If you're new to the greenhouse, start with these "easy wins":
- Radish: Grows in 7 days, big seeds, spicy flavor.
- Broccoli: Extremely healthy, very reliable sprout rate.
- Pea Shoots: Tougher than most, can handle slight temp swings.
- Sunflowers: Crunchy and sweet, but they need a bit more light.
Sourcing Quality, High-Germination Seeds
Always buy "microgreen grade" seeds. These are tested for pathogens like E. coli and Salmonella and usually have a germination rate of 95% or higher. Buying in bulk (1lb or 5lb bags) will save you 70–80% compared to buying small packets.
Step-by-Step Planting and Care
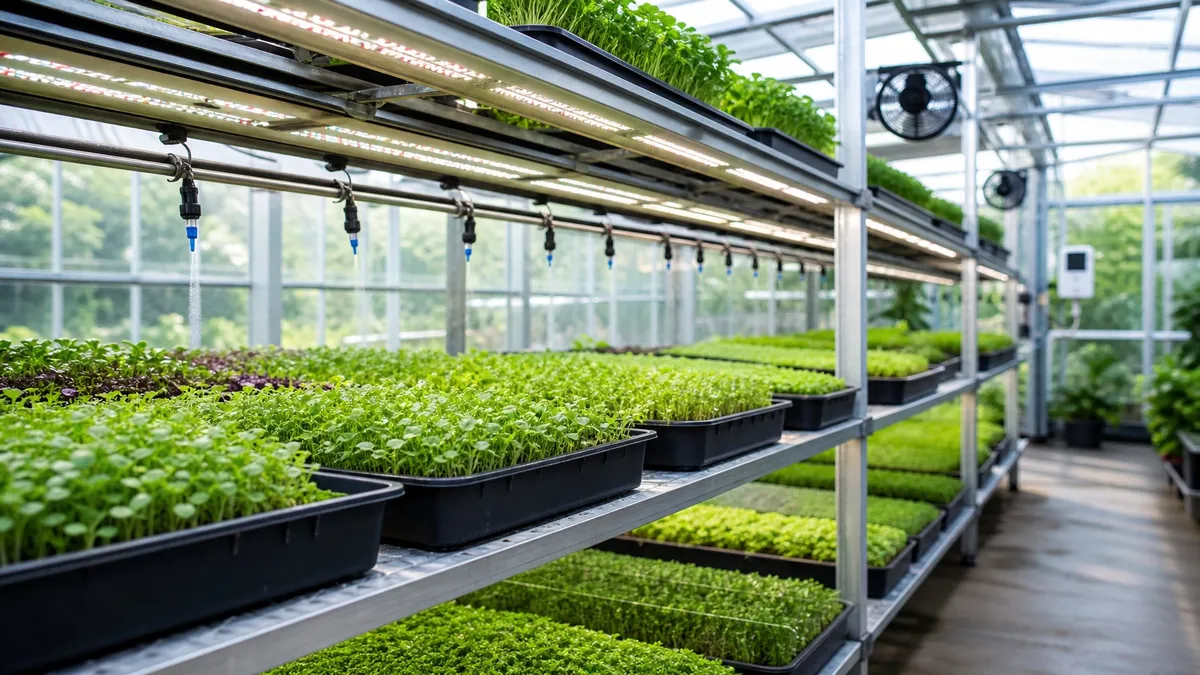
Consistency is the secret to high-yield microgreens.
Preparing and Seeding the Trays
- Fill your 1020 tray with 1 inch of moist growing medium.
- Flatten the surface (don't pack it down!).
- Sow seeds thickly across the surface. Think "salt on a pretzel," not "seeds in a garden."
- Mist the seeds with a spray bottle.
The "Blackout" Phase
Most microgreens need 2–4 days of total darkness to sprout. Stack an empty tray on top of your seeded tray and place a weight (like a brick) on top.
This forces the seedlings to push upward together, creating the long, straight stems that are easy to harvest.
Moving to Light and Managing Airflow
Once the sprouts are about 1/2 inch tall and looking a bit yellow, remove the weight and move them into the sun. Within 24 hours, they will turn deep green.
Turn on your greenhouse fans! Stagnant air is the #1 cause of "damping off" (seedling death). You want a gentle breeze moving over the tops of the trays at all times.
Harvesting and Post-Harvest Handling
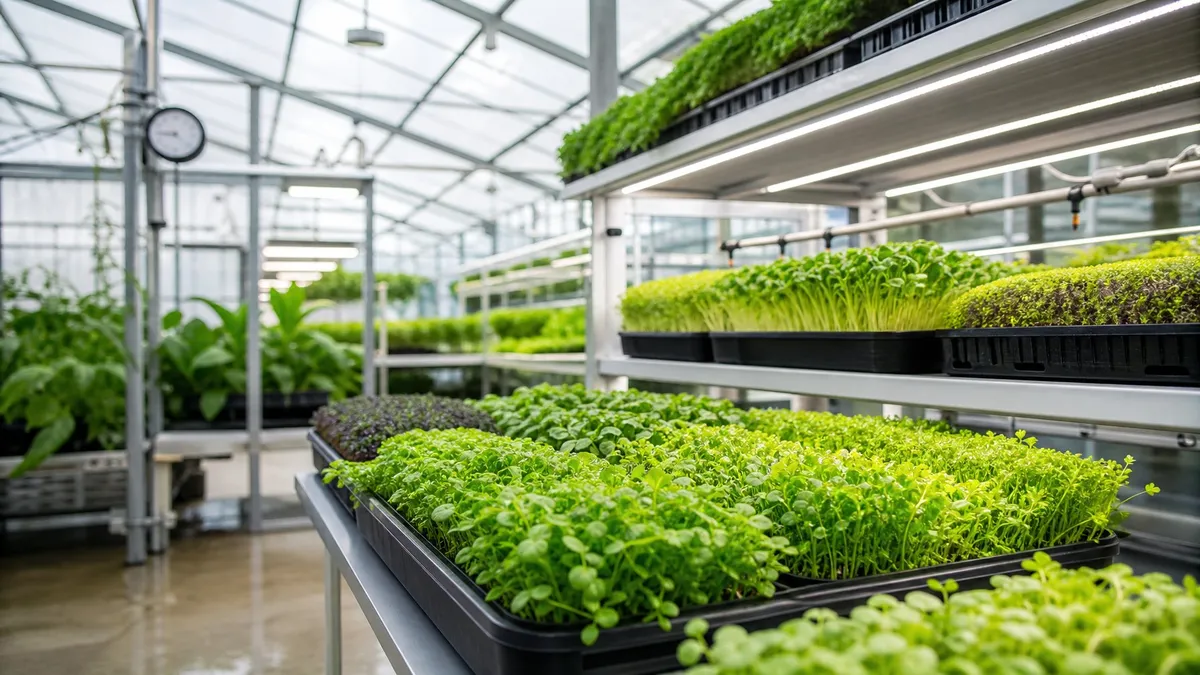
Harvesting at the peak of freshness ensures the best flavor and nutrition.
When to Harvest for Best Flavor
For most crops, this is when the "cotyledons" (the first leaves) are fully expanded but before the "true leaves" appear. If you wait too long, the stems can get woody and the flavor can turn bitter.
Tools and Techniques for a Clean Cut
Use a sharp, sanitized knife or a pair of electric shears. Hold the greens by the top and cut about 1/2 inch above the soil line.
Avoid getting soil or growing media into your harvest container!
Washing, Drying, and Packaging
If your greenhouse is clean, you may not even need to wash your microgreens. If you do, use a salad spinner to get them completely dry. Any moisture in the package will lead to rot within 48 hours.
Store them in a vented plastic clamshell or a bag with a paper towel in the refrigerator.
Common Greenhouse Microgreen Problems
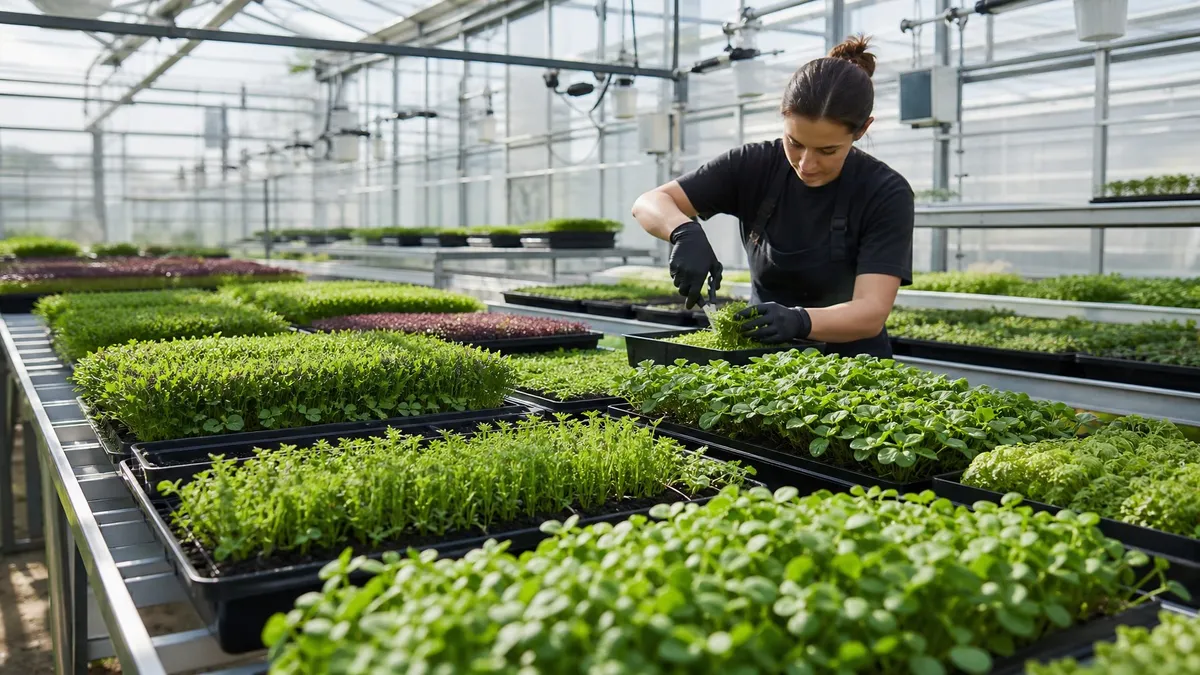
Managing Mold and Fungal Issues
If you see white, fuzzy growth at the base of your stems, you likely have a mold problem. This is usually caused by:
- High humidity (keep it under 60%).
- Poor airflow (increase fan speed).
- Over-seeding (too many seeds blocking air).
Dealing with Heat Stress and Wilting
Because microgreens have very shallow root systems, they wilt fast in a hot greenhouse. If you expect a day over 85°F, use shade cloth and check the bottom trays for water twice a day.
Pest Control in a Microgreen Environment
Fortunately, because the cycle is so fast (7–14 days), most pests don't have time to establish. However, fungus gnats can be an issue. Use yellow sticky traps and keep the greenhouse floor dry to deter them.
Frequently Asked Questions
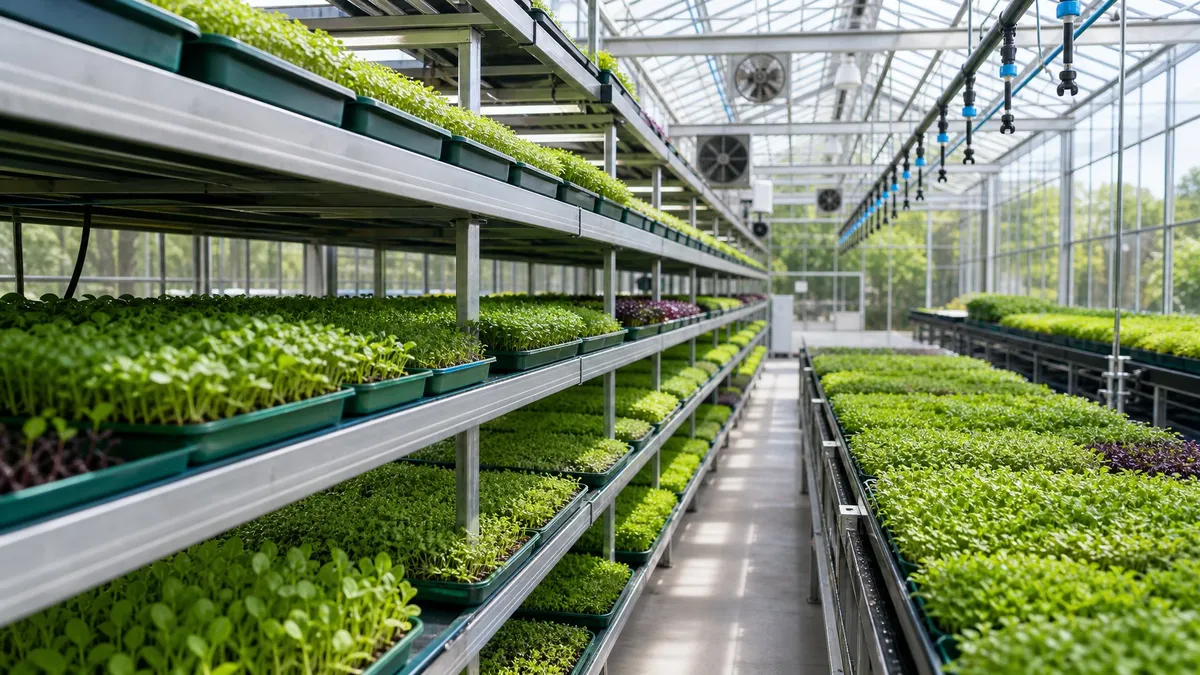
Do greenhouse microgreens need supplemental lighting in winter?
Yes, if you have less than 6 hours of direct sunlight. A few hours of LED light in the morning or evening will prevent the microgreens from getting "leggy" and pale.
What is the best temperature range for growing microgreens?
Aim for 65°F to 75°F. They can survive down to 50°F and up to 90°F, but their growth will slow down significantly or they may become stressed and bitter.
How much water do microgreen trays need daily?
In a typical greenhouse environment, a 1020 tray will drink about 1–2 cups of water per day. Always check the weight of the tray—if it feels light, it needs water!
Can I reuse the soil or growing media after harvest?
It's not recommended. The old roots are prone to rot and can harbor pathogens for the next crop. Most growers compost the "root mat" and start with fresh media for every tray.
Is a microgreens business profitable in a hobby greenhouse?
It can be! A single rack in a 10x12 greenhouse can hold 40 trays. If you sell each tray for $15–$20 to local chefs or at a farmers market, the revenue adds up quickly. Just be sure to check your local health department regulations first.