
Sierra Greenhouse Insights
Greenhouse Foundation Options And Build Planning
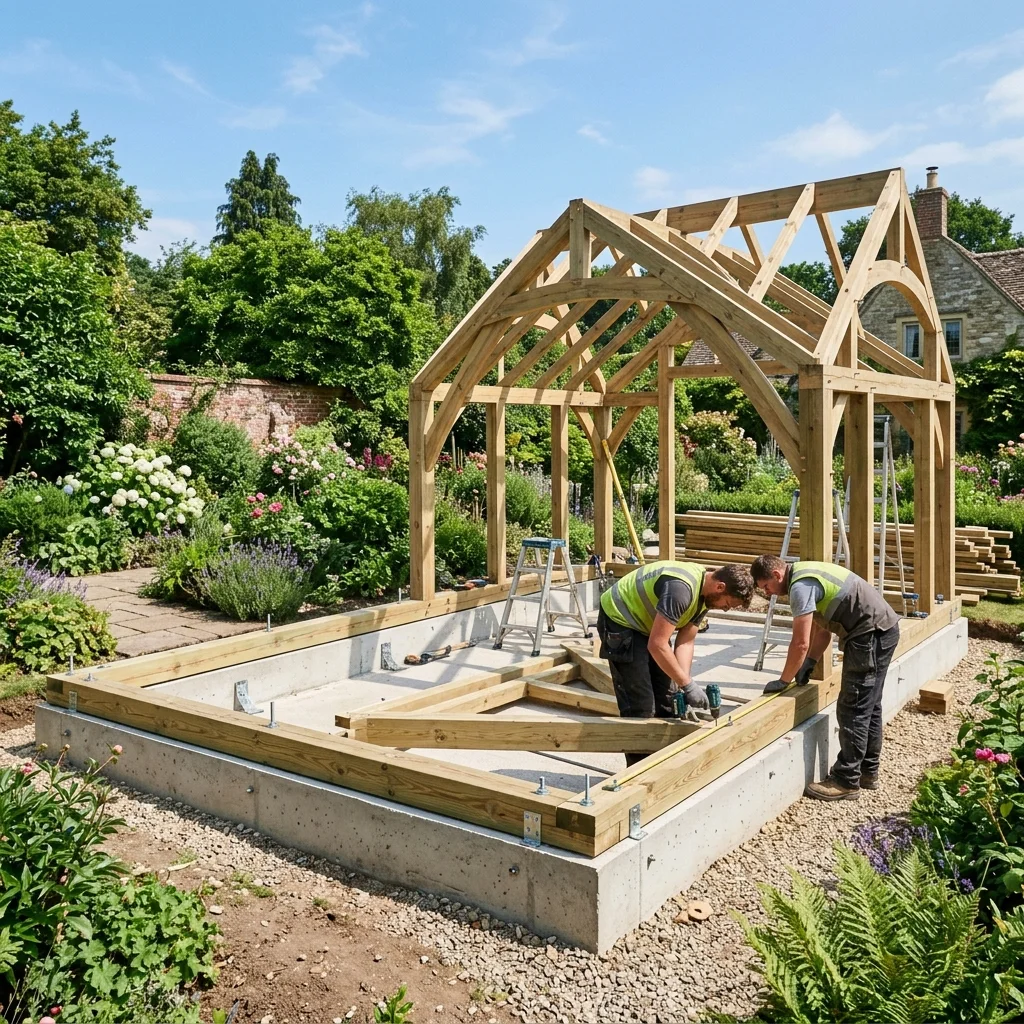
Your greenhouse foundation is the single most important choice that shapes the success of your entire project. A properly designed base determines whether your frame sits straight, whether panels fit tightly, and how much heat you lose through perimeter leaks during freezing winter nights.
Choosing the wrong base is the leading cause of early structural failures, resulting in jammed doors, warped framing, and cracked glazing panels within the first year.
Let’s break down the four most practical foundation options for home growers across USDA zones 3 to 11. We’ll cover what each costs, where each shines, and how your base ties into structural life, heating, and kit compatibility.
Quick Navigation: Key Base Functions | Foundation Comparison | Site Preparation | FAQ
What A Good Base Must Do First
Before comparing materials and prices, understand the four essential jobs every greenhouse base must handle:
1. Keep The Structure Level and Square
Level is everything. If your foundation is even a quarter inch out of alignment, your greenhouse frame goes out of square.
This structural twist stresses panel corners, pops glazing sheets loose, and causes sliding doors to stick. Always measure diagonals to ensure they match within a quarter inch.
2. Manage Water and Prevent Settling
Standing water softens your sub-base, causing uneven settling. Water also accelerates wood rot and undermines gravel pads.
Ensure you grade the site to slope away from the greenhouse at a rate of one-quarter inch per foot.
3. Provide Reliable Anchoring In Wind
Even a small 8x12 ft hobby greenhouse catches substantial wind. Without anchors, a strong storm can shift or flip the structure.
Always anchor the sill frame using heavy-duty bolts cast into concrete or long anchor stakes driven deep into compacted base rock.
4. Match The Greenhouse Footprint exactly
Your base must match the exact outer dimensions of your greenhouse sill, not just the generic dimensions listed on the retail box. Double-check if the manufacturer specifies inside or outside measurements before pouring concrete.
Foundation Types Compared By Cost and Use Case
These four options cover the vast majority of residential builds. Cost ranges are based on a standard 8x12 ft footprint.
1. Concrete Perimeter Footings (Cold-Climate Gold Standard)
Best for: Permanent installations, USDA zones 3–6, and heavy glass structures.
- Cost Range: $500–$1,500 installed (depending on depth).
- Pros: Completely stops frost heaving, provides a level surface, and lasts for decades.
- Cons: High cost, requires excavation below local frost lines, and usually needs a building permit.
2. Compacted Gravel Pads (Best Value)
Best for: Budget builds, temporary/portable kits, and quick DIY setups.
- Cost Range: $100–$400 depending on depth.
- Pros: Excellent drainage, low cost, easy to install, and prevents water pooling.
- Cons: Hard to level perfectly, can shift on slopes, and requires regular weed management.
- Pro Tip: Always use angular crushed gravel (like 3/4-inch minus), which compacts and locks together. Avoid rounded pea gravel, which rolls and shifts.
3. Concrete Block foundations
Best for: DIY builders, moderate budgets, and sloped yards.
- Cost Range: $300–$800 including leveling sand and gravel base.
- Pros: Stable, level, and easy to build using dry-stack methods.
- Cons: Can shift on expansive clay soils unless a thick sub-base of gravel is compacted beneath them.
4. Pressure-Treated Lumber Frames (DIY Kit Favorite)
Best for: Light hobby greenhouse kits and quick assembly.
- Cost Range: $200–$600 for framing timber.
- Pros: Cheap, easy to level using shims, and simple to fasten.
- Cons: Limited 10-15 year lifespan before rot sets in, and susceptible to soil movement.
Site Prep And Build Basics That Prevent Problems
The longevity of your greenhouse depends on site preparation. Take your time during this phase to ensure a stable, long-lasting structure:
- Mark Layout: Drive corner stakes and verify diagonals match within 1/4-inch.
- Excavate the Soil: Remove topsoil and dig down to accommodate your base layers plus 4 inches of sub-base.
- Compact the Base: Add road base in 2-inch layers, compacting each layer with a hand tamper or plate compactor to prevent settling.
- Install Weed Control: Lay a high-quality woven geotextile fabric over the soil before adding gravel to prevent weed growth.
- Anchor and Seal the Sill: Anchor the frame securely. Apply a thick bead of exterior-grade silicone caulk under the sill plate to block cold air drafts.
Frequently Asked Questions
What is the best base type for a greenhouse in cold climates?
For USDA zones 3 to 6, concrete perimeter footings extending below the frost line are the best choice. This prevents frost heave from warping the frame and cracking the panels.
How deep should footings be to prevent frost heave?
Footings must extend below your local frost line. This ranges from 12–18 inches in moderate climates (Zone 7) to 48–60 inches in cold northern regions (Zones 3–4).
Do I need a concrete slab for a hobby greenhouse?
No. A full concrete slab is rarely necessary. Compacted gravel pads with a perimeter lumber frame or concrete blocks on a gravel base are highly effective and cost-effective alternatives.
How do I anchor a greenhouse to a gravel foundation?
First, build a perimeter timber frame (using 4x4 or 4x6 pressure-treated lumber) around the gravel pad. Anchor the timber frame using 30-inch rebar stakes driven into the ground, and bolt the greenhouse sill to the timbers.